Table of Contents
Some office programs, such as Excel and Access, support programming using VBA (Visual Basic for Application). Some programs support embedding ActiveX controls. All office programs seem to accept copy/paste of RTF and EMF objects. The table below summarizes the support options of various Office components (version 2007).
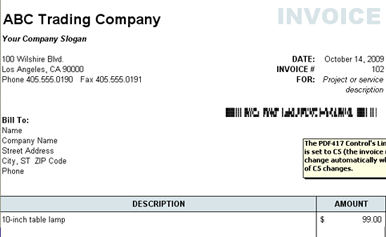
This section explains the steps to add PDF417 barcodes in a Microsoft Access report using Morovia PDF417 Control.
The PDF417 ActiveX control must be installed and registered on the computer.
Open a report in design view and choose →

From the list of controls, select
Morovia PDF417 Control.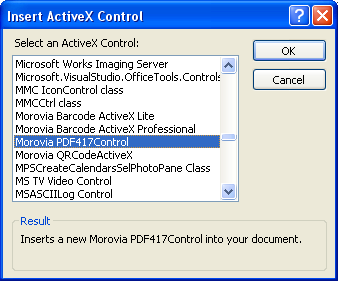
After the control is placed on the report, right click on it and choose
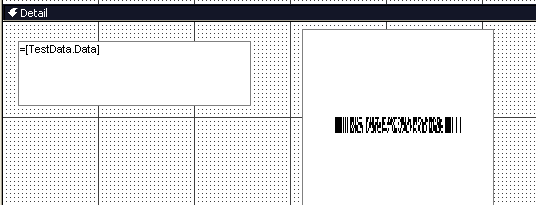
Modify the Control Source property to point to the table and filed of the data you wish to encode into the barcode.
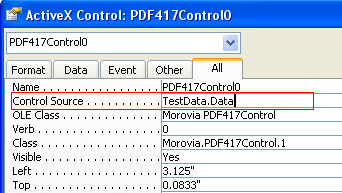
Modify other properties, such as
ModuleWidth,Cols,RowsandAspectRatio. After you are satisfied with the result, close the property dialog.Save the run the report. You should see the barcode appear in the report.
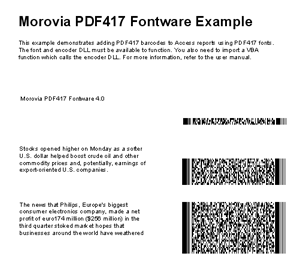
You can also add PDF417 barcodes to Access report using font-based solution.
Before creating barcodes in Microsoft Access, you must import the required module. This module adds VBA function so that you can put into the report. Choose → and select
Access Example.mdbfile, located in the program folder.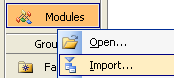
Choose
PDF417FontEncode_Modulefrom the other database. After it is properly imported, it will appear as one of the modules in the database.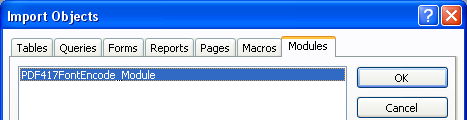
Open a report in design view and add a text box to the report. The text box will be modified to contain a barcode.
Right click on the text box and choose properties.
Place the formula
=PDF417Encode([TestData.Data],0,7,9,True,0,3.1)in the control source property of the text box where [TestData.data] is the field that contains the data to be encoded into the PDF417 barcode. The following parameters arerows,cols,security level,full size PDF flag,aspect ratioandy-height. Note that the y-height value should match the one in the font to be used. In our case, the font we will use isMRV PDF417 N3, which has a fixed y-height of 3.1.
Run the report. You should see lines of hexadecimal characters appear in the place of the text box. This is the barcode string in the raw text form.
Go back to the design view and change the font of the text box. In our case, choose
MRV PDF417 N3and 8 points. Adjust the size of the text box to fit the whole barcode.Save and run your report. You should see the barcodes appear in the report.
Excel has line gap issues with PDF417 fonts. You can paste EMF image from GUI encoder, or use ActiveX control as outlined below.
After you finished other parts of the spreadsheet, choose → →
When Control Toolbox appears, click on button.
From the list of controls presented, choose Morovia PDF417 Control.
Select the area to place the control in the spreadsheet.
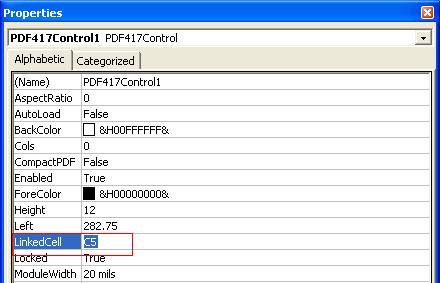
Right click on the control, choose Properties and change the Linked Cell property to the name of the cell that contains the data you wish to encode.
Change other properties as necessary such as
Rows,ColsandAspectRatioto adjust the size of the barcode.After editing the properties, click on button to exit design mode. The barcode will appear in the spreadsheet.

The barcode is now bound to the cell. Change the data of the linked cell, the barcode will change accordingly.
Note: to subsequently modify or delete the barcode control, Excel must enter
Design Mode. This can be done by pressing the button on the Control Toolbox.
Using PDF417 control in Microsoft Word is similar to the one in Excel, except that Word does not provide a way for data binding.
choose → → .
In the toolbox, choose the button.
Select Morovia PDF417Control from the list of available ActiveX controls. After selecting it, the control will appear in the document, the control may be sized as necessary. To change the properties of the control right click on the control and choose Properties.
When finished, exit the design mode by choosing the button.
To edit the properties of the control the program must be in design mode. If there are problems editing the properties of the control, press the button to enable it.
This tutorial uses Excel file Word Mail Merge DataSource.xls as mail merge data source. The data looks like this:

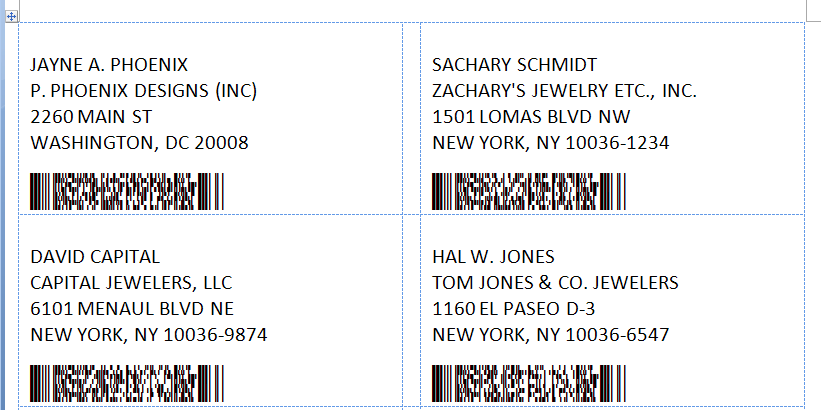
We want to print address information as well as a PDF417 barcode that encodes such information in Avery label paper 5163. The Print Preview looks like the one below:
Before we start, we need to import a module into Excel. To do that, open Visual Basic Editor. In Excel 2007, this is done by selecting → .
In Visual Basic Editor, choose → . Navigate to the PDF417 Fontware installation folder, and select the
Morovia.PDF417FontDLL.bas.Close Visual Basic Editor.
Add a new column in the spreadsheet that will hold the barcode string. In our case, we use column H. In cell H2, enter the definition as below:

After hitting Enter, you should see a hexadecimal string result show up. If not, examine the formula you entered.
Note the use of Excel function
CONCATENATEhere. This function is used to combine several fields, as well as line return characters.See the DLL API for the meaning of each field. Here we require the number of columns as 4.
Copy the formula to other cells of the same column. This can be done by selecting cell H2, highlighting the cells that the formula is copied, and select Paste.
Close the Excel file and start Microsoft Word.
In Microsoft Word, choose → → . Select Avery 5163 as the label we will work on.
Select . In the file dialog, navigate to the spreadsheet we just created. If it asks for Select Table, choose Sheet1$.
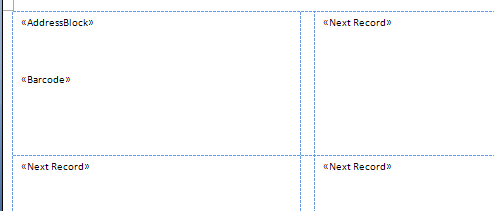
Click on . This is for the address line. Microsoft Word has the intelligence to select the address block.
Hit Enter once to move the cursor below, and click on . Select Barcode as the merge field. The document looks like the one below:
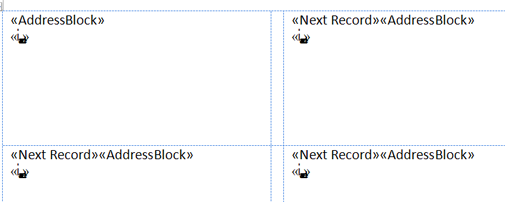
Click on . You should see the first record show up, with hexadecimal characters in the place of barcode.
Now adjust the font for the address block and the barcode field. For the address block, we use Arial 16 points. For the barcode, use
MRV PDF417 N314 points. Note: the font should match the yHeight value in the formula.Warning
Make sure that there is no gap between two lines in the barcode field. If you see blanks inside the barcode, adjust the paragraph setting by selecting . Use 0 for Before and After spacing, and Single for Line spacing.
Copy the format to other labels by selecting Update labels.
Select to view the sheets of labels.